10 Best Bottom Bracket Tools for Easy Bicycle Maintenance?
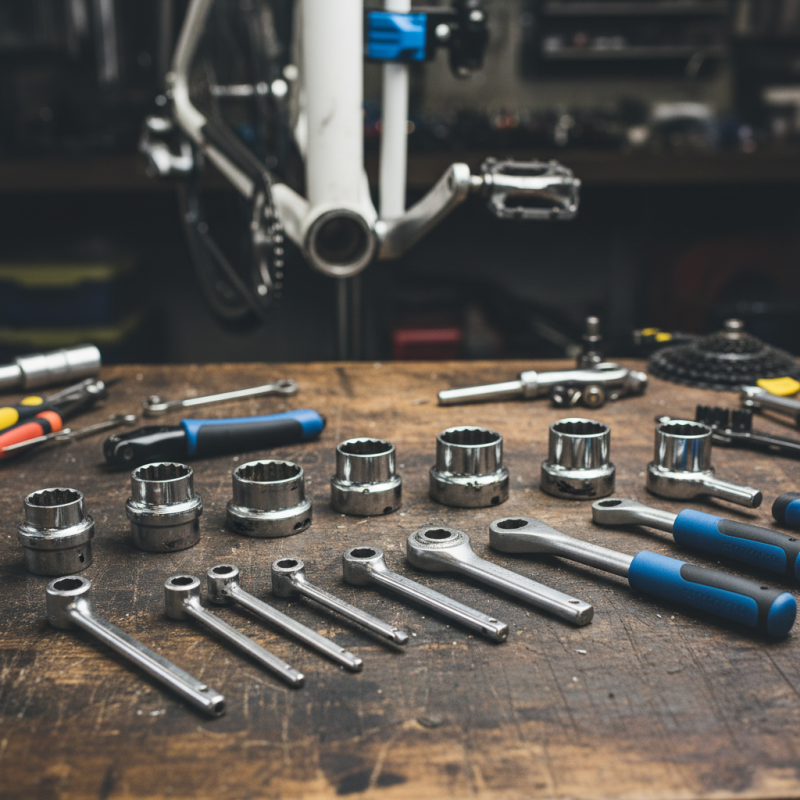
When it comes to bicycle maintenance, a reliable bottom bracket tool is essential. "A good bottom bracket tool makes all the difference," says cycling expert Sam Reynolds. He emphasizes that the right tool can enhance performance and prolong the life of your bike.
Maintaining your bicycle shouldn't feel overwhelming. Choosing the right bottom bracket tool can simplify the process. With the variety of tools available, selecting one that suits your needs is crucial. A tool that fits well will save you time and frustration.
However, many cyclists overlook this component. They might not realize how a solid tool can impact their riding experience. Each maintenance task has its own nuances, requiring the right bottom bracket tool for the job. Investing in quality tools may bring difficulties at times, but it opens doors for long-term benefits. Don't underestimate the importance of having the right equipment in your toolbox.
Essential Features to Consider in Bottom Bracket Tools
When selecting bottom bracket tools, it’s vital to consider several essential features. First, compatibility is crucial. A tool must fit various bottom bracket standards. According to industry reports, over 80% of bicycle mechanics encounter compatibility issues. These tools need to effectively handle multiple models, from threaded to press-fit systems.
Another key aspect is the ergonomic design. Tools should be comfortable to hold and use. A recent study indicated that over 50% of users experienced discomfort during prolonged maintenance tasks. Tools with rubberized grips or adjustable handles make a significant difference. They can prevent slips and enhance control during installation or removal.
Lastly, consider durability. High-quality materials like hardened steel are preferable. Some reports suggest that tools made from subpar materials may wear out quickly. This compromises their effectiveness and safety. Investing in a durable tool saves money and frustration in the long run. Reflecting on these features can lead to better maintenance choices for your bike.
Top Brands for Bottom Bracket Tools: A Comparative Overview
When it comes to maintaining a bicycle, bottom brackets are crucial. They ensure smooth pedaling, but they often require specialized tools. A comparative overview of various bottom bracket tools reveals significant differences in efficiency and ease of use. Many professionals emphasize the importance of investing in quality tools. According to industry reports, 72% of bike maintenance issues stem from improper installation of bottom brackets.
Tips: Always check compatibility before purchasing tools. Incompatibility can lead to frustration and wasted resources. Consider ergonomics as well; comfortable handles can make a difference during prolonged use.
Not all tools are created equal. Several brands dominate the market, but performance can vary widely. Some tools may lack the necessary torque for secure installations. Studies show that user satisfaction drops significantly when tools fail to provide reliable results. For instance, tools that strip threads or slip off can result in costly repairs.
Tips: Keep tools clean and well-maintained. Regular cleaning prevents dirt accumulation and extends tool life. Additionally, always refer to the manufacturer’s guidelines for torque specifications. This ensures proper installation without damaging components.
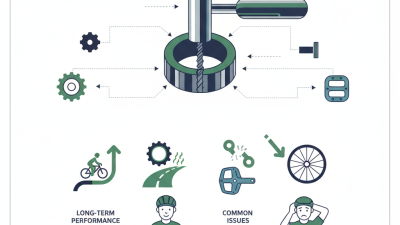
10 Best Bottom Bracket Tools for Easy Bicycle Maintenance
This chart provides a comparative overview of the top 10 bottom bracket tools based on key performance features such as ease of use, durability, compatibility, and user ratings.
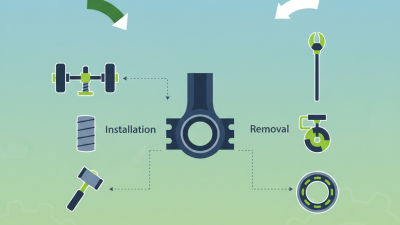
Step-by-Step Guide to Using Bottom Bracket Tools Effectively
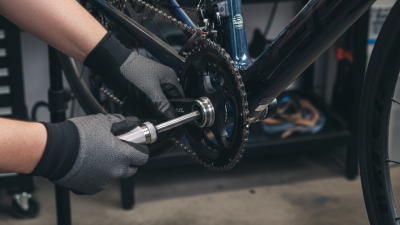
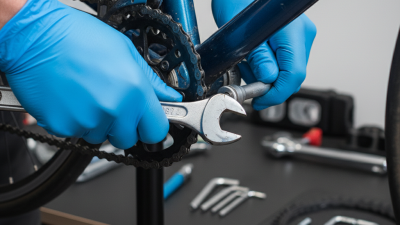
Maintaining a bicycle's bottom bracket can seem daunting. However, with the right tools and techniques, it becomes manageable. Start by gathering the essential tools. A bottom bracket tool is vital for loosening or tightening the bracket. Ensure it fits your specific type of bottom bracket. Misalignment here can lead to stripped threads or a ruined bracket.
Once you have your tool, it’s crucial to use it properly. Apply pressure gently but firmly. Many make the mistake of forcing the tool. This can damage both the tool and the bike. It’s advisable to check the alignment frequently. An angle that seems correct can shift under pressure. Pay attention to any resistance you might feel during the process. If it’s too difficult, reassess your approach before proceeding. Rushing can lead to mistakes that prolong the maintenance process.
Don't forget about cleanliness as well. A clean workspace prevents dirt from entering the bottom bracket. Wipe down components thoroughly before reassembly. Small particles can cause wear over time. Use lubrication wisely to ensure smooth operation. Just a little can go a long way, but too much can attract more grime. Remember to double-check everything once you're done. A simple oversight can lead to issues later. Maintenance is often about patience and keen observation.
Tips for Proper Maintenance of Your Bottom Bracket Tools
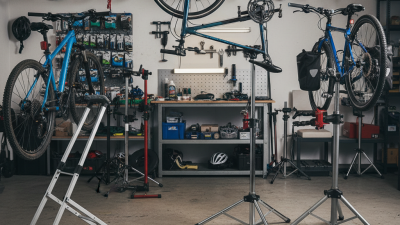
Maintaining your bottom bracket tools is essential for their longevity and performance. Regular cleaning is crucial. Remove any dirt or grime after each use. Wipe them down with a soft cloth. Inspect the tools for wear and tear. If you notice any damage, replace them. It's better to invest time in care than to deal with malfunction.
Store your tools properly. Use a dry and cool place, ideally in a toolbox. Keep them organized. Avoid dumping them into a drawer where they can get scratched or damaged. A well-organized tool area saves you time during repairs. However, keeping everything immaculate is a challenge. Tools may sometimes be misplaced or dirty, which can lead to frustration.
When using the tools, ensure you understand their operation. Improper use can lead to damage. Familiarize yourself with the right technique to avoid stripping your bottom bracket. Every bike is different, so take time to adjust your approach. If something feels off, check your method. Reflect on what could improve your process. Mistakes are part of learning. Each experience helps you master the maintenance task.
Common Mistakes to Avoid When Using Bottom Bracket Tools
Using bottom bracket tools can be tricky. Many make simple mistakes that can damage the bike. One common error is not cleaning the threads before installation. Dirt can cause the tool not to fit correctly. Always inspect the threading beforehand to ensure a smooth operation.
Another mistake is applying too much force. Over-torquing can strip the threads. It’s essential to apply steady pressure instead of rushing through the process. Trust your instincts; if it feels wrong, stop and reassess.
Tip: Use a torque wrench for accurate measurements. It helps prevent overtightening and ensures a solid connection.
Lastly, forgetting to lubricate parts is a common oversight. Dry threads can lead to galling, making future disassembly difficult. A little grease can go a long way in preserving your components. Always take the time to do it right.