Removing a square-taper crank can look simple, but the correct tool makes a significant difference. A square taper bottom bracket tool is designed to remove the cartridge safely, without damaging the spindle, threads, or surrounding frame. This guide explains how the tool works and when to use it.
Before starting, identify the bottom bracket standard and inspect the tool interface. Many square-taper cartridges use splined cups, but not every design matches the same remover. Confirm the fit carefully. A loose tool can slip when pressure increases. That small mistake may round the splines or scratch the frame.
Place the bicycle securely on a repair stand. Remove the crank arms, then clean dirt from the bottom bracket area with a brush. Apply the tool fully into the cartridge before turning it with a suitable wrench. I prefer steady pressure rather than sudden force, especially on older bicycles where corrosion may resist removal. A long handle can help, but excessive force can damage the tool or shell threads. It is worth pausing.
This article also covers common mistakes, including turning the remover in the wrong direction, forgetting the retaining bolt, and using an incompatible adapter. Manufacturer instructions remain the most reliable reference because cartridge designs vary. If the part will not move, stop and reassess instead of forcing it. Careful preparation usually saves more time than hurried repair work. Expect a little resistance, but not confusion.
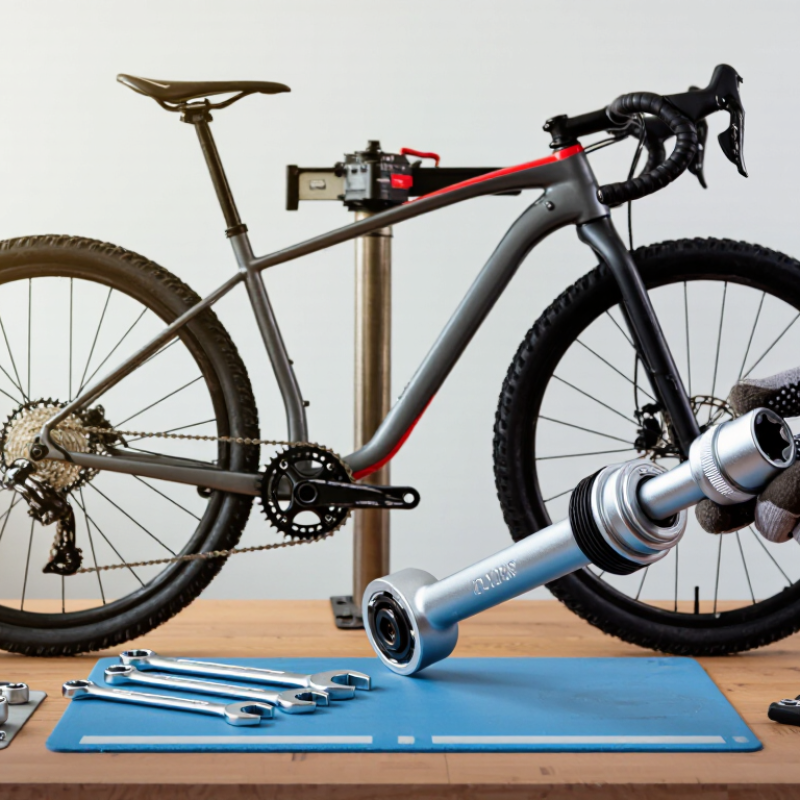
Square taper describes the crank-to-spindle connection, not the bottom bracket’s removal interface. That distinction matters. Before choosing a tool, check whether the bike has a sealed cartridge unit or an older cup-and-cone assembly. A cartridge usually has a visible drive pattern on its retaining rings. Count the splines and compare their shape with the tool’s working end. Cup-and-cone systems may use different spanners, and some lockrings have notches instead of splines.
Clean the area with a rag and good light. Remove the crank only if needed to inspect the bottom bracket face; square-taper cranks usually require a crank puller after the fixing bolt is removed. Gather the matching bottom bracket tool, a suitable handle or wrench, and the correct crank-removal tools. A torque wrench is useful when reinstalling parts. Keep a small tray nearby for bolts and spacers. It is easy to overlook one.
Do not force a tool that rocks, sits shallow, or engages only a few splines. That can round the fitting. Check the opposite side too, since the two sides may loosen in different directions. If the interface remains unclear, pause and compare the fitting with a reliable service diagram. I have found that guessing from the word “square taper” alone can send the repair in the wrong direction.
Before using a square taper bottom bracket tool, remove both crank arms so the bottom bracket cups are accessible. Shift the chain onto the smallest chainring, then place a cloth beneath the work area to catch grease or small parts.
Locate the crank-arm fixing bolt and loosen it with the correct-size hex key or socket. Keep the tool aligned with the bolt; a poorly seated tool can round its edges.
The crank arm may stay firmly attached after the bolt comes out. Thread a compatible crank puller into the arm by hand, turning it carefully to avoid cross-threading. Its outer section must sit flush against the crank.
Turn the extractor’s inner spindle clockwise, using steady pressure. The crank should move outward with a soft pop. Don’t rush it.
If the puller feels crooked or unusually stiff, stop and check the threads rather than forcing it. Repeat on the other side, noting the left and right crank positions.
With the arms removed, the square-taper spindle ends and bottom bracket cups are exposed. Wipe away dirt with a clean rag and inspect the spindle for damage or heavy wear. A little grime is normal; deep scoring is not.
I’ve found that taking a quick photo before removal can help, though it is easy to forget.
Now you can fit the correct bottom bracket tool securely onto the cup.
How to Use a Square Taper Bottom Bracket Tool?
A square taper bottom bracket tool must sit fully on the cup splines. Remove both cranks first, then clean the exposed spindle and tool interface. I usually press the tool firmly against the cup before turning it. A retaining axle bolt or washer can prevent the tool from slipping. That small step matters. According to ISO 6695:2011, bottom bracket dimensions and interfaces require accurate alignment during service. A loose tool can round the splines or damage the cup.
Check the threading direction before applying force. On many English-threaded shells, the drive-side cup loosens clockwise when viewed from the drive side. The non-drive side usually loosens counterclockwise. Confirm the shell standard, because assumptions cause expensive mistakes. Add penetrating fluid around the threads, wait several minutes, and use a long-handled wrench with steady pressure. Do not strike the wrench immediately. I once focused too much on force and ignored poor tool seating. That was careless. PeopleForBikes’ 2023 participation report estimated that 112 million Americans rode bicycles in 2022, showing how many bicycles eventually need routine servicing. Hold the frame securely, protect the paint, and watch for trapped grit. If the cup will not move, stop and reassess the thread direction.
Fit the tool correctly before applying force. Common threaded bottom bracket shell widths help identify the bicycle’s frame standard, but the removal tool must match the bottom bracket interface.
Removal tip: Remove the crank first, clean the exposed splines, fully seat the tool in the bottom bracket, and hold it in place with the axle bolt or a suitable retaining method. For a standard right-hand threaded bottom bracket, loosen the drive-side cup clockwise and the non-drive-side cup counterclockwise.
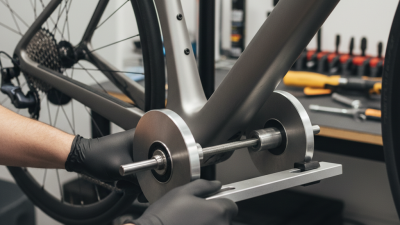
A square taper bottom bracket tool helps remove the cartridge without damaging its splines. Secure the bicycle in a stable stand, then remove the crank arms and wipe away loose grit. Fit the tool fully into the bottom bracket interface. A shallow fit can slip and round the splines.
Use a spanner or long-handled ratchet with steady pressure. Confirm the shell’s threading standard before turning anything. Many threaded systems use different directions on each side. Do not force a seized cup immediately. Apply suitable penetrating fluid, wait, and try again with firm control. I once rushed this step and marked the tool, so patience matters.
After removal, inspect the cartridge bearings for rough movement, play, or grinding sounds. Check the shell threads for crushed dirt, rust, and damaged sections. Shine a small light through the shell. Clean the inside with a nylon brush and a degreaser-safe cloth, then dry it completely. Avoid flooding the bearings with solvent.
Inspect the shell faces as well. They should appear flat and free from paint flakes or metal burrs. A damaged face can leave the bottom bracket misaligned. Clean the threads carefully, but do not chase them with an unsuitable tap. Apply a thin layer of appropriate grease during reassembly, following the component’s installation guidance. My own inspection is not always perfect; hidden corrosion can remain beneath old grease, especially around the lower shell edge.
Replacing a square taper bottom bracket starts with careful crank removal. Shift the chain onto the smallest chainring and smallest rear sprocket. Remove the crank bolts, then use a suitable crank puller to separate each crank from the tapered spindle. Do not hammer the crank. It can damage the bearings and frame. Clean the exposed shell with a rag, then inspect the threads for grit or cross-threading.
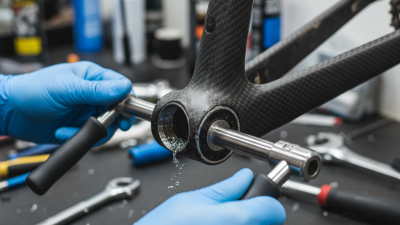
Fit the square taper bottom bracket tool fully into the cartridge. A loose fit may round the tool interface. Hold the tool firmly with a wrench, and turn the drive-side cup in the correct direction. Many bottom brackets use a reverse thread on that side, so check the component markings before applying force. Remove the old unit, clean the shell, and add a thin layer of grease to the shell threads. Install the replacement by hand first. It should turn smoothly. Resistance at the first thread means stop and realign it.
Tips: Keep spacers in their original positions. Measure the old axle length before ordering a replacement. Apply grease to the crank tapers only if the manufacturer allows it; opinions differ, and excess grease can encourage crank movement. Refit the cranks evenly, then tighten the bolts to the specified torque. I have found that a final inspection often catches small errors, especially a chainring sitting slightly out of line. Spin the cranks and check for side play. A quiet rotation is reassuring, but it is not proof of perfect installation.
This website uses cookies to ensure you get the best experience possible. Learn more.