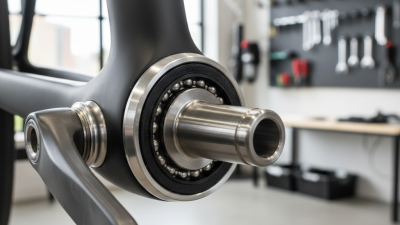
7 Tips for Choosing the Right Bottom Bracket

Choosing the right bottom bracket can feel like a small technical decision. It is not. This component connects your frame, crankset, bearings, and riding habits. A poor match may create creaking, rough rotation, premature wear, or frustrating installation problems.

Bicycle historian and mechanic Sheldon Brown described it simply: “The bottom bracket is the part of the bicycle that contains the bearings.” That plain explanation remains useful. The bearings must fit the frame shell, crank spindle, and intended riding conditions. Road racing, commuting, gravel, and mountain biking can place very different demands on the same component. Check the details carefully.

This guide presents seven practical tips for choosing a suitable bottom bracket. It considers shell width, spindle standard, bearing type, frame material, weather exposure, serviceability, and budget. Measure twice. Compatibility charts help, but they do not replace direct inspection. Some product labels remain confusing, even for experienced riders.

Look closely at the frame threads or press-fit seats. Notice dirt around the seals. Listen for clicking after a wet ride. These small clues often reveal more than marketing claims. Ceramic bearings may sound attractive, but they are not automatically the best choice for every cyclist. A durable steel-bearing model may perform better for daily commuting.

The right bottom bracket should rotate smoothly, fit securely, and match your maintenance habits. It should also suit the rest of the bicycle, not just the crankset. That distinction is easy to miss. Take your time, question vague specifications, and accept that the cheapest option can become expensive after repeated replacement.
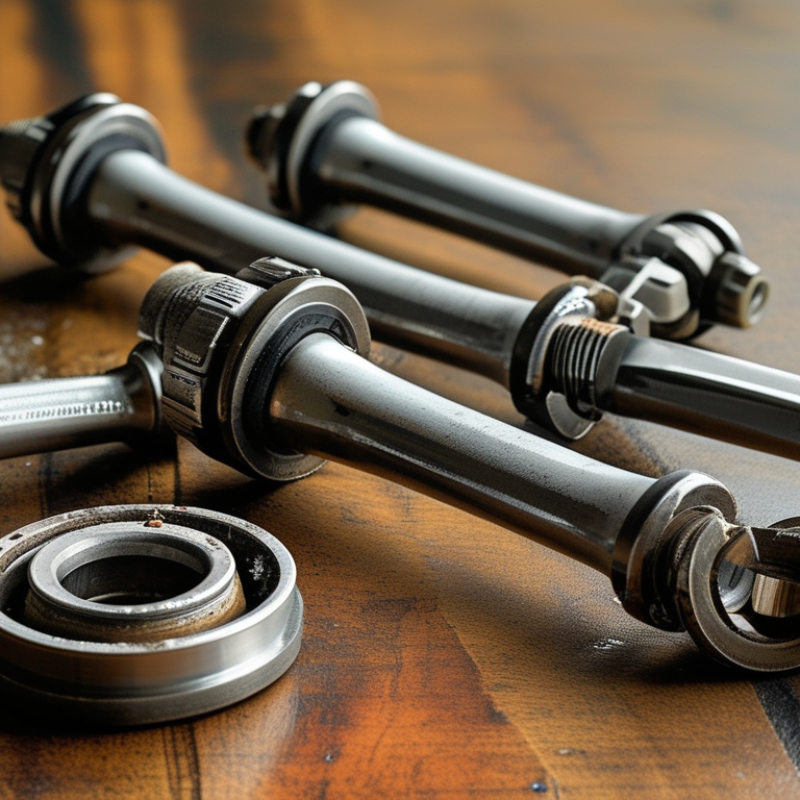
7 Tips for Choosing the Right Bottom Bracket

Identify Your Crankset and Frame Compatibility

7 Tips for Choosing the Right Bottom Bracket

Identify Your Crankset and Frame Compatibility

Tip 1: Start with the crankset. Measure the spindle diameter, length, and interface shape before ordering a bottom bracket.

Tip 2: Check the frame shell. Record its width and whether it uses threaded cups or press-fit bearings. This small detail prevents expensive mistakes.

Tip 3: Confirm the crank’s required bearing position. Some cranksets need different spacers for different shell widths. Incorrect spacing can create rubbing, noise, or poor shifting.

Tip 4: Inspect the existing parts carefully. Look for stamped measurements, worn seals, and unusual spacers. A phone photograph can help you compare details later.

Tip 5: Measure twice. I once trusted an old workshop note and selected the wrong shell width. The crank turned, but the chainline was clearly poor.

Tip 6: Follow the crankset manufacturer’s technical chart, not only a retailer’s product title. Product names can hide important differences between similar-looking standards.

Tip 7: Check clearance around the frame. Rotate the crank slowly and watch the chainrings, stays, and bearing area. Tight spaces deserve extra attention.

Experience helps here, but it should not replace measurement. A compatible bottom bracket must match both the crankset and the frame. Thread direction, spacer placement, and axle length all matter. If the crank feels rough after installation, stop riding and inspect the alignment. I sometimes recheck every measurement because memory is unreliable, especially after a rushed repair. A qualified mechanic can verify unusual combinations before permanent damage occurs.

7 Tips for Choosing the Right Bottom Bracket - Identify Your Crankset and Frame Compatibility
Tip Compatibility Dimension What to Check Common Specifications Selection Guidance
1 Identify the frame shell standard Measure the shell width and determine whether the frame uses a threaded or press-fit bottom-bracket system. Common threaded shells include approximately 68 mm, 73 mm, and 100 mm widths. Common press-fit systems include approximately 86.5 mm, 91.5 mm, and 92 mm shell widths. Use the frame specification or measure the shell before purchasing. Shell width alone does not identify every standard.
2 Confirm the shell diameter and interface For threaded frames, identify the thread type. For press-fit frames, measure or verify the internal shell diameter. A widely used threaded format is 1.37 × 24 TPI. Press-fit examples include approximately 41 mm, 42 mm, and 46 mm internal diameters, depending on the frame standard. Do not substitute a press-fit cup for a threaded shell or assume that similar shell widths are interchangeable.
3 Match the crank spindle diameter Check the spindle diameter, length, and whether the spindle is integrated with the crank or separate from it. Common spindle sizes include approximately 24 mm, 28.99 mm, 30 mm, and 24/22 mm stepped designs. Square-taper systems use a tapered spindle rather than a constant round diameter. The bearing bore must support the spindle correctly. A cup made for one spindle diameter will not automatically fit another.
4 Check the crank interface Identify how the crank attaches to the spindle, including the mounting shape and required axle design. Typical interfaces include square taper, splined cartridge systems, two-piece external-bearing systems, and press-fit-compatible integrated spindles. Select the bottom bracket for the exact crank interface, not only the number of chainrings or the bicycle category.
5 Verify spindle length and chainline Compare the crank manufacturer’s recommended axle length with the frame, chainring position, front derailleur space, and rear drivetrain layout. Road, gravel, mountain, and wide-tire setups may require different chainline positions. A wider setup can require additional spacing or a different crank and bottom-bracket configuration. An incorrect chainline can cause poor shifting, excess chain angle, or interference with the frame and chainstay.
6 Choose bearings for riding conditions Consider bearing position, sealing, exposure to water and grit, riding frequency, and expected maintenance conditions. External bearings can offer more room for larger bearings, while press-fit systems sit inside the frame shell. Sealed cartridge bearings are commonly used for contamination protection. For wet or muddy use, prioritize effective seals and correct installation. Smooth rotation alone does not prove long-term compatibility.
7 Confirm installation requirements Check the required tools, spacer arrangement, tightening torque, thread direction, and whether the frame needs facing, cleaning, or special preparation. Threaded cups commonly use opposite tightening directions on the two sides. Press-fit cups require accurate alignment and controlled pressing force. Follow the crank and bottom-bracket service instructions. Incorrect spacers or torque can create play, drag, noise, or bearing damage.
Quick compatibility checklist: Frame shell type and dimensions → crank interface → spindle diameter and length → chainline → bearing and installation requirements.

Measure the Bottom Bracket Shell and Axle Standards

7 Tips for Choosing the Right Bottom Bracket

Measure the Bottom Bracket Shell and Axle Standards

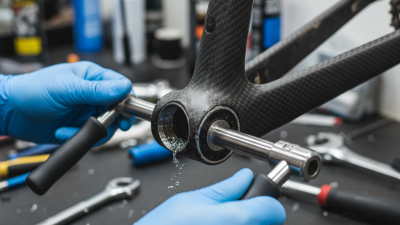
Measure the frame shell before ordering a bottom bracket. Clean the shell first, because dirt can distort your reading. Use a digital caliper for accuracy, not a ruler from a toolbox. Check the shell width at several points. An uneven reading may reveal paint buildup or frame damage.

Record the shell’s internal diameter and threading pattern. If the shell is unthreaded, confirm whether it accepts a press-fit system. Measure the crank axle diameter with the crank removed. Then check the axle length and bearing contact area. These details must match the frame and crank interface. Small differences matter. A one-millimeter error can cause poor bearing alignment.

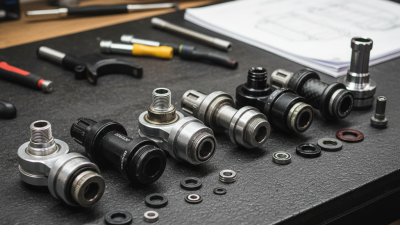
Inspect the axle ends and spacers carefully. Their arrangement controls chainline and preload. Never copy a spacer layout from another bicycle without checking compatibility. I once trusted an old measurement and installed the wrong shell width. The crank turned, but the bearings felt rough. That mistake taught me to measure twice and write every result down. Consult the frame and crank specifications when measurements seem unusual. Manufacturer data is useful, but physical measurements remain essential. Do not force a mismatched unit into the shell. It may damage the threads, seats, or bearings.

Choose the Correct Bearing Type and Sealing Design

Choosing the correct bearing type starts with the riding environment, not the frame label. Cartridge bearings suit many modern bottom brackets because they arrive pre-greased and can be replaced individually. Angular-contact bearings handle combined radial and side loads better, especially during hard climbing. Loose-ball systems remain serviceable, but they demand cleaner adjustment and more frequent inspection. ISO 281 calculates bearing life from load, speed, and dynamic load rating. It does not predict damage from grit, water, or poor installation.

Sealing design often decides real-world durability. A contact seal presses against the inner race, blocking mud more effectively but adding slight friction. A labyrinth seal creates a non-contact path, reducing drag while offering less protection against pressure-washed water. The World Bearing Association’s Rolling Bearing Damage and Failures guidance notes that up to 80% of premature bearing failures involve lubrication, contamination, mounting, or storage problems. That figure should influence your seal choice. It is not a reason to ignore alignment.

I once treated a tight seal as automatically superior. That was too simple. A gritty commute may justify stronger contact sealing, while dry racing may reward lower resistance. Check the bearing code, spindle diameter, shell width, and manufacturer’s preload requirement. Press the bearing squarely. Never use the inner race to force an outer-race fit. Small details matter. After wet rides, listen for rough rotation and inspect the seal edge before corrosion becomes visible.

7 Tips for Choosing the Right Bottom Bracket

Choose the Correct Bearing Type and Sealing Design

Bearing selection is a balance between contamination protection, rolling resistance, and serviceability. The chart uses a representative 1–5 engineering index: higher values indicate a stronger characteristic. Actual performance depends on fit, preload, alignment, lubrication, and riding conditions.

  • Choose open bearings only for clean, protected applications where frequent maintenance is acceptable.
  • Metal-shielded bearings generally offer lower drag but limited protection against water and fine contaminants.
  • Contact-sealed bearings provide stronger contamination resistance and are widely suited to everyday riding.
  • Labyrinth sealing adds a non-contact barrier and can improve protection while limiting seal friction.
  • Match the bearing design to the expected exposure to rain, mud, dust, and pressure washing.
  • Confirm bearing dimensions, spindle interface, shell width, and preload requirements before purchase.
  • Replace bearings when roughness, play, corrosion, or persistent noise appears instead of relying only on mileage.

Compare Materials, Durability, and Riding Conditions

7 Tips for Choosing the Right Bottom Bracket

Compare Materials, Durability, and Riding Conditions

Tip 1: Match the material to your riding environment. Stainless steel resists moisture well, while coated steel can offer strong value. Ceramic bearings may reduce friction, but they are not automatically more durable. Tip 2: Check the shell and bearing standards carefully. A precise fit prevents creaking, uneven wear, and costly damage to the frame. I have seen riders blame the crankset when the real problem was poor installation.

Tip 3: Consider your weekly mileage. Occasional road riders may need a dependable standard bearing, not an expensive upgrade. Tip 4: Mud, rain, and salted winter roads demand better sealing. If water reaches the bearings repeatedly, even quality materials can fail early. Tip 5: Think about pressure from your riding style. Powerful sprinting, loaded touring, and rough gravel place greater stress on the bottom bracket. Choose durability over tiny weight savings.

Tip 6: Inspect maintenance requirements before buying. Some bearings tolerate simple cleaning, while others need more careful servicing. Tip 7: Follow the maker’s fit and torque specifications. Small installation errors can shorten service life dramatically. This detail is often ignored. A bottom bracket should feel smooth, quiet, and secure during a hand check. However, that test cannot reveal every problem. Regular inspection remains important, especially after wet rides or unusual sounds.

Verify Installation Requirements and Long-Term Maintenance

Choosing a bottom bracket is not only a question of axle type or price. Installation requirements decide whether it will run smoothly and remain safe. PeopleForBikes’ 2024 U.S. Bicycle Industry Overview reports that over 100 million Americans ride bicycles yearly. That scale makes correct servicing important, even for ordinary commuter bikes.

Tip 1: Verify the frame shell width, thread direction, axle standard, and spacer arrangement before ordering. Measure twice. ISO 4210-2:2023 emphasizes safety-related requirements for bicycle assemblies, but it does not replace the component’s installation instructions. Use a calibrated torque wrench, clean the shell threads, and check bearing preload without forcing the crank. I still recheck alignment after the first short ride. Small mistakes can become expensive noise.

Tip 2: Plan maintenance around riding conditions, not only distance. Inspect the bottom bracket after wet rides, pressure washing, dusty commutes, or unusual creaking. Do not assume every sound comes from the bearings. Loose crank bolts, pedals, and frame joints can imitate bottom-bracket failure. Tip 3: Record the installation date, torque settings, and inspection findings. Replace damaged seals promptly, and avoid directing high-pressure water at the bearing area. A 2023 maintenance survey published by the Bicycle Association identified regular inspection as a common workshop practice, yet service intervals still vary widely. That uncertainty deserves honest attention.

This website uses cookies to ensure you get the best experience possible. Learn more.