How to Choose the Right BSA 68mm Bottom Bracket?

Choosing the right bsa 68mm bottom bracket begins with one simple measurement: the frame shell width. Yet that measurement alone does not guarantee compatibility. Crank design, spindle length, thread standard, bearing position, and riding conditions also matter. A 68mm shell may look familiar, but two bicycles can require completely different bottom bracket systems.

Sheldon Brown, a respected bicycle mechanic and technical writer, described the bottom bracket as “the bearing assembly that connects the crankset to the bicycle frame.” That connection carries every pedal stroke. It must remain smooth, properly aligned, and firmly installed. A small mismatch can create clicking, uneven chainline, premature bearing wear, or difficult shifting. Sometimes, the noise is not from the bottom bracket at all. That is an easy mistake.

Experienced mechanics usually confirm the frame’s BSA threading before selecting a replacement. They also inspect the crank interface, axle spacing, shell condition, and manufacturer torque guidance. External-cup, cartridge, and press-fit-looking products are not interchangeable simply because their bearings appear similar. The word “universal” deserves caution here. It often hides limitations.

This guide explains how to compare materials, sealing systems, bearing types, and installation requirements. It also considers weather, mileage, maintenance habits, and budget. A lightweight road setup may need different priorities than a heavily used commuter bicycle. There is no perfect choice for every rider. The best bsa 68mm bottom bracket is the one that fits correctly, supports the crankset, and remains dependable in real riding conditions. Even careful buyers should recheck measurements before ordering.
How to Choose the Right BSA 68mm Bottom Bracket?

Identify the BSA 68mm Bottom Bracket Standard

How to Choose the Right BSA 68mm Bottom Bracket?

Identify the BSA 68mm Bottom Bracket Standard

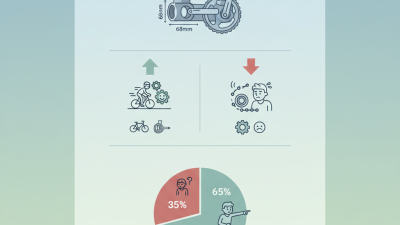
A BSA 68mm bottom bracket fits a threaded shell measuring 68mm across its frame. Measure the bare shell, not the external cups. The thread standard is usually 1.370 inches by 24 threads per inch, equal to approximately 34.8mm in diameter and 1.06mm thread pitch. ISO 6691:2011 identifies this thread family for bicycle bottom-bracket assemblies. That specification is more reliable than a product listing that only says “English threaded.”

Check the threading direction carefully. The drive-side thread is normally left-hand, while the non-drive side uses a right-hand thread. This arrangement helps resist loosening during pedaling. The 68mm width is common on road and touring frames, while many mountain frames use 73mm. A 68mm shell paired with a 73mm unit may create poor chainline or excess spacing. It may still look correct in a workshop.

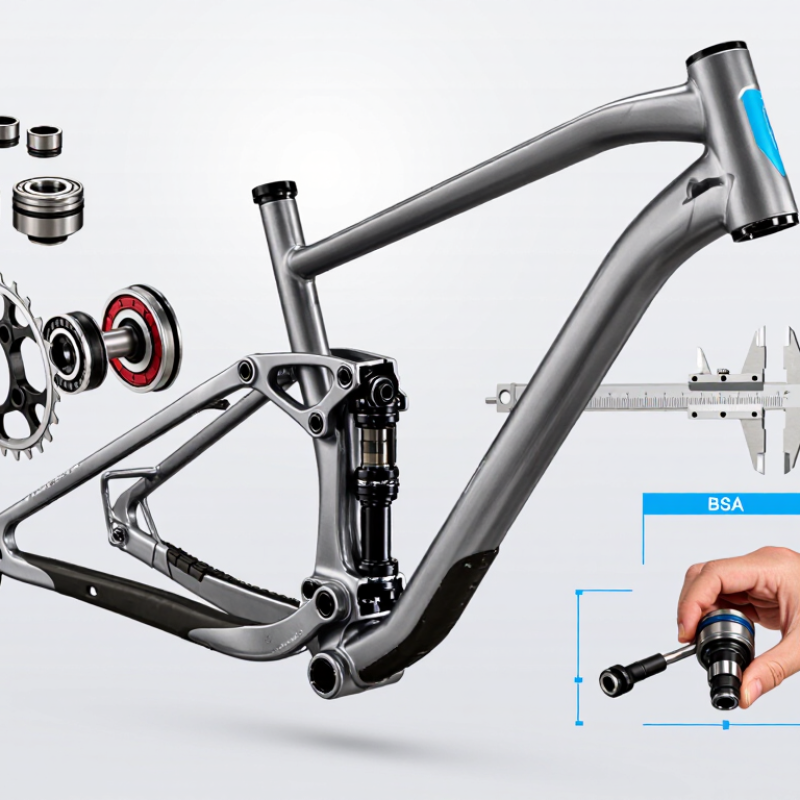
Use calipers for shell width and inspect the thread visually. Paint buildup can hide one or two millimeters. I have seen measurements change after cleaning the shell faces. That small error matters. Technical dimensional tables aligned with ISO 6691 also distinguish shell width from cup width, so never measure the installed assembly as one piece. Check spindle length, crank interface, and manufacturer fit notes before ordering. A familiar label can still conceal an incompatible standard.

Measure the Shell and Confirm Frame Compatibility

How to Choose the Right BSA 68mm Bottom Bracket?

Measure the Shell and Confirm Frame Compatibility

A BSA 68mm bottom bracket starts with an accurate shell measurement. Remove the existing unit before checking anything. Paint, dirt, and old thread compound can hide the true width. Use a caliper across the bare shell faces. Do not measure the cups. A standard road-style BSA shell commonly measures 68mm, while many mountain frames use 73mm. The difference affects spacing and chainline.

Check the threads carefully. BSA threading usually uses a 1.37 x 24 TPI standard, with the drive-side thread tightening counterclockwise. Damaged threads may prevent proper seating. Clean them gently, then inspect for cross-threading or deep corrosion. A measurement can look correct while the frame remains incompatible. That mistake is easy to miss.

Confirm the bottom bracket matches your crank spindle. Check spindle length, crank interface, bearing position, and required spacers. The frame shell width alone is not enough. A 68mm shell with the wrong spindle can shift the chainline several millimeters. That may cause noisy shifting or uneven wear. In workshop fitting, I prefer recording every measurement twice. I once trusted a quick ruler reading and overlooked paint buildup. It was close, but not correct. Recheck the shell, threads, and crank instructions before installation. A small doubt deserves another measurement.

How to Choose the Right BSA 68mm Bottom Bracket? - Measure the Shell and Confirm Frame Compatibility

Check Item Correct Measurement or Standard What It Confirms Compatibility Guidance
Bottom bracket shell width 68 mm measured across the frame shell, excluding external cups, spacers, and lockrings The frame uses the nominal BSA 68 mm shell format A 68 mm-specific setup is generally required; do not select a 73 mm-only configuration without checking the manufacturer’s spacing instructions
Thread standard BSA/English threaded: 1.370 in × 24 TPI, equivalent to approximately 34.8 mm major thread diameter and 1.058 mm pitch The frame’s thread form and pitch match the bottom bracket cups Confirm that the product is marked BSA, English, or 1.370 in × 24 TPI; Italian-threaded parts are not interchangeable
Shell condition Threads should be clean, continuous, and free from severe cross-threading, dents, or corrosion The cups can fully engage and seat squarely Repair damaged threads and remove paint or debris from the shell faces before installation
Drive-side thread direction BSA drive-side cup uses a left-hand thread; the non-drive-side cup uses a right-hand thread The cup orientation is correct for installation and service Do not force either cup if it will not start smoothly by hand; incorrect orientation can damage the frame threads
Crank spindle interface Match the bottom bracket to the crank’s spindle system, such as 24 mm two-piece, 24/22 mm stepped, 30 mm, DUB-type, square-taper, or another specified interface The crank axle can pass through the bearings and engage correctly A BSA shell size alone does not identify the correct bottom bracket; the crank axle standard must also match
Spindle length or axle position Use the crank manufacturer’s specified spindle length or chainline requirement rather than choosing by shell width alone The crank sits at the intended chainline with adequate clearance Incorrect spacing may cause chainline problems, crank contact, insufficient thread engagement, or poor shifting
Spacer requirement Spacer quantity and thickness depend on the bottom bracket design, crank system, chainline, and shell width The bearings and crank are positioned as specified Use only the spacer arrangement specified for the selected crank and bottom bracket; do not copy a 73 mm layout automatically
Chainstay and frame clearance After installation, the crank, chainrings, cups, and seals must clear the chainstays and frame surfaces throughout rotation The selected assembly fits the specific frame geometry Check clearance before applying final torque, especially with wide axles, large chainrings, or external bearing cups
Bottom bracket type Choose threaded cartridge, threaded external-cup, or a compatible threaded press-fit adapter according to the crank system The bearing housing and crank interface are suitable for the intended use The term “BSA 68 mm” describes the frame shell, not a single universal bearing or crank standard
Final verification Verify shell width, BSA threading, crank interface, spacer layout, chainline, and installation torque against the component instructions All frame and component specifications agree before purchase If any measurement is uncertain, remove the old bottom bracket and measure the bare shell before ordering
Key rule: A 68 mm shell confirms the frame width only. The correct bottom bracket must also match the BSA thread standard, crank spindle interface, required spacers, chainline, and frame clearance.

Match the Bottom Bracket to Your Crankset

How to Choose the Right BSA 68mm Bottom Bracket?

Match the Bottom Bracket to Your Crankset

A BSA 68mm shell only describes the frame’s threaded width. It does not identify the correct bottom bracket by itself. Check your crankset’s spindle interface before ordering. Common options include square taper, splined, and two-piece systems. The spindle length also affects chainline, clearance, and shifting performance.

For a square-taper crank, measure the required axle length from the crankset instructions. A small error can move the chainrings several millimeters outward. For a two-piece crank, confirm the spindle diameter and bearing arrangement. Some systems use external cups, while others place bearings inside the shell. Do not copy spacer layouts from another bicycle. The same 68mm shell may need a different setup for a single-ring or double-ring crankset.

Tips: Clean the BSA threads and inspect them under strong light. Confirm the shell width with calipers, not a ruler. Check whether the frame uses standard English threading, usually 1.37 x 24 TPI. Grease the threads lightly, then tighten the cups to the maker’s stated torque. If the crank feels stiff after installation, stop and investigate. I have seen incorrect spacers create drag that looked like a bearing fault. Measuring twice feels slow, but replacing the wrong bottom bracket is slower.

Compare Bearing Types, Materials, and Sealing

How to Choose the Right BSA 68mm Bottom Bracket?

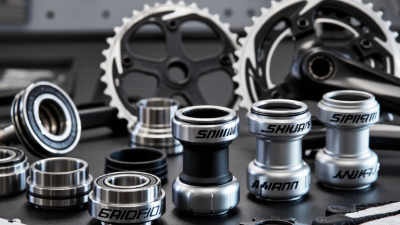
A BSA 68mm bottom bracket uses a threaded shell with a 1.37 x 24 TPI interface. Bearing choice affects friction, service life, and riding feel. Standard cartridge bearings are practical and easy to replace. Angular-contact bearings handle side loads better during hard climbing. Cup-and-cone systems can feel smooth, but they demand careful adjustment. They are less forgiving when maintenance is delayed.

Material matters, but marketing claims can distract. Chrome-steel bearings usually offer strong value and dependable fatigue resistance. Stainless steel resists corrosion better in wet storage conditions. Hybrid ceramic bearings can reduce rolling resistance, yet their gains may disappear under poor alignment or contamination. ISO 281 defines L10 life as the point where 90% of a bearing group is expected to survive. Real bicycles often perform worse because water, grit, and installation errors change the calculation.

Sealing deserves close attention. A double-lip contact seal blocks fine dust effectively, while a low-contact seal may spin more freely. Labyrinth sealing adds protection without constant rubbing, but it cannot stop pressure-washed water. Choose seals for your roads, not laboratory speed claims. ISO 492 tolerances also remind us that precision only helps when the shell and spindle align correctly. I prefer stainless cartridges with robust dual seals for commuting and mixed weather. Still, that choice is not perfect. Racing use may justify lighter seals, but frequent inspection becomes essential.

Check Installation Requirements and Maintenance Needs

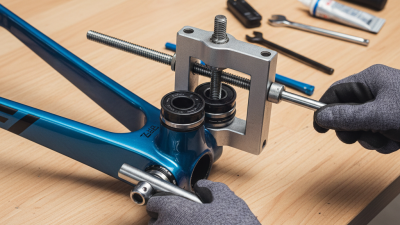
A 68mm BSA bottom bracket requires careful installation, not just a matching shell width. Measure the frame shell before ordering. Confirm the English 1.37 x 24 TPI thread and check the drive-side reverse thread. The cups must enter smoothly by hand. If resistance appears early, stop and inspect the threads. Cross-threading can permanently damage the frame. ISO 4210-2 identifies dimensional and safety requirements for bicycle frames, but it does not replace the component maker’s torque instructions.

Maintenance needs depend on riding conditions. PeopleForBikes reported that 112 million Americans rode bicycles in 2022, creating a wide range of usage patterns, from clean indoor training to wet commuter routes. After muddy or rainy rides, wipe the crank area and check for grinding, looseness, or side play. A properly adjusted bearing should rotate smoothly without a rough, sandy feeling. Experienced mechanics usually inspect the chainline and spacer position before tightening the crank. Small errors here can increase noise and bearing wear. A perfect service schedule is unrealistic; riding conditions matter more than a calendar.

Tips: Clean and lightly grease the threads before installation. Use a calibrated torque wrench. Do not solve stiffness by adding excessive force. Recheck crank preload after the first few rides, especially when the bicycle has seen rain, grit, or frequent transport. If the shell threads feel damaged, professional inspection is safer than repeated installation attempts.

This website uses cookies to ensure you get the best experience possible. Learn more.