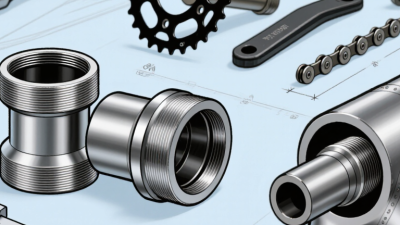
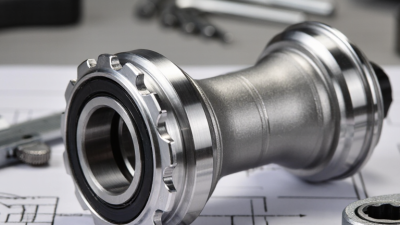
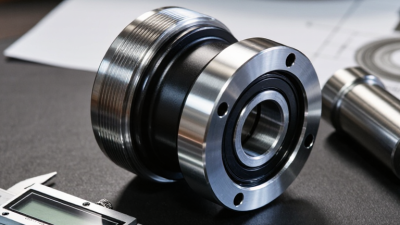
Choosing the right bsa bottom bracket can seem simple until a creaking bike enters the workshop. The shell standard, spindle length, bearing design, and crankset must all agree. A small mismatch can create play, rough rotation, or damaged threads. Seven practical tips can make this decision clearer and safer.
Start with the frame’s specifications, not a product photograph. Many British Standard Cycle shells use a 1.37 x 24 TPI thread, but shell width still matters. Measure it carefully, because paint and dirt can hide the true contact surface. Check the crank manufacturer’s manual for spindle compatibility, preload instructions, and tightening torque. These details are more dependable than a retailer’s short description.
Do not ignore bearing exposure. A sealed cartridge may suit wet commuting, while a lightweight external unit may favor easier servicing. Consider riding conditions, replacement availability, and your repair skills. I once focused too much on low weight and overlooked a poor seal design. The result was premature noise after several muddy rides. That mistake remains useful.
Fit matters most.
A reliable choice should install smoothly, spin quietly, and match the crank without forced adjustment. Use the correct removal and installation tools, clean the threads, and apply suitable assembly compound where the manufacturer allows it. If the shell is damaged or uncertain, ask a qualified mechanic before installation. These seven tips will help you compare standards, materials, durability, and value with greater confidence, while leaving room to question marketing claims and your own assumptions.
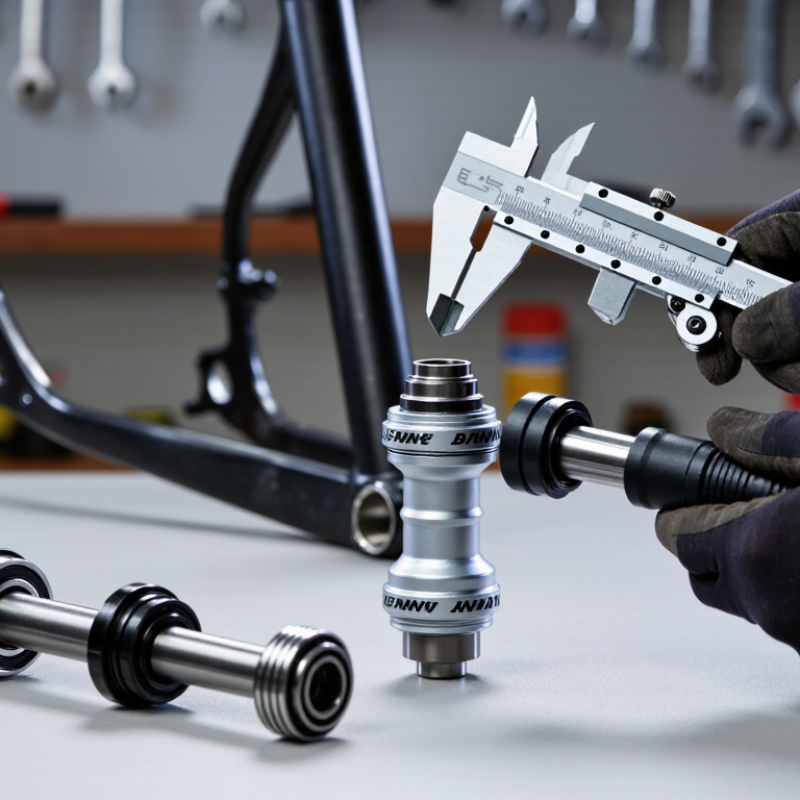
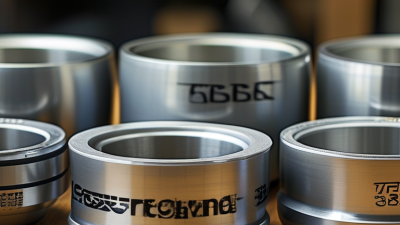
BSA, or British Standard Cycle, uses a threaded frame shell with a 1.370-inch diameter and 24 threads per inch. This standard appears on many road, gravel, and mountain bicycles. The drive-side cup usually has a left-hand thread. It tightens counterclockwise, helping resist loosening during pedaling. The non-drive-side cup uses a conventional right-hand thread. Remember this detail.
Shell width matters. Common measurements include 68 mm and 73 mm, while some frames use wider mountain-bike dimensions. Measure the bare shell, not the outside cups. Paint, dirt, or old thread-locking compound can distort your reading. I once measured without removing residue and chose the wrong spacer arrangement. That error was avoidable.
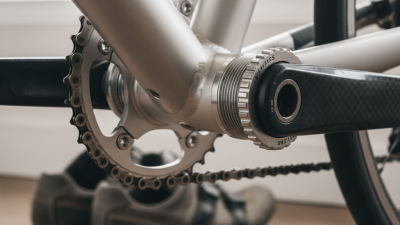
The spindle length must match the crankset and intended chainline. Cartridge units offer simple installation, while external-bearing systems may reduce friction but demand careful alignment. Inspect the shell threads before fitting anything. Damaged threads can create uneven cup pressure and premature bearing wear. Apply suitable grease to clean threads, then tighten with the correct tool and torque range. Do not force a cup that feels cross-threaded. Check the crank’s side play afterward. A quiet bottom bracket is not always healthy; rough rotation can hide behind a tight preload. Clearance around the frame, seals, and crank arms also deserves attention.
7 Tips for Choosing the Right BSA Bottom Bracket?
Tip 1: Measure the frame shell before buying. Common BSA shells measure 68 or 73 mm, while some frames use 83, 100, or 120 mm widths. Measure between the outer faces, not the paint edges. A one-millimeter mistake can create chainline problems. ISO 6691:2011 identifies the common 1.37 × 24 TPI threaded format. However, shell width still determines the correct axle and spacer arrangement.
Tip 2: Check the threading direction carefully. BSA frames usually use a left-hand thread on the drive side and a right-hand thread on the non-drive side. Do not force a cup that feels wrong. Cross-threading can damage an expensive frame. Clean both threads first, then inspect them under strong light. I still recheck this step, especially on older frames with dirt-packed threads.
Tip 3: Confirm the crank interface and axle length. Square-taper, splined, and two-piece crank systems require different bottom brackets. Manufacturer technical data sheets normally provide axle lengths, spacer positions, and tightening torque. Use those figures rather than guessing from an old part. ISO 4210-2:2015 includes bicycle safety requirements, but it does not replace the crank maker’s fit specifications.
Tip 4: Prepare for installation. Apply suitable assembly compound, use the correct tool, and tighten gradually. Stop immediately if the cup binds. A workshop torque wrench is preferable, though real home repairs are rarely perfect. Recheck bearing smoothness after installation. If the crank sits too far inward, the shell measurement or spacer setup deserves another look.
Choosing a BSA bottom bracket starts with the crankset, not the frame shell. BSA threading usually means 1.37 x 24 TPI, with a 68 or 73 millimetre shell width. That information only confirms compatibility with the frame. The spindle still decides everything.
Measure the crank spindle carefully. Common systems use 24 millimetres, 30 millimetres, square taper, or splined interfaces. Their bearings and internal clearances differ. A 30 millimetre spindle may need a specific threaded unit or sleeve system. Check the spindle length too. A wrong length can shift the chainline, reduce stiffness, or leave poor crank engagement. Spacer placement matters. Follow the crankset’s installation chart, even when the diagram looks overly simple.
The 2023 ZIV Bicycle Industry Report recorded roughly 2.1 million e-bikes sold in Germany. More bicycles now carry heavier loads and produce higher drivetrain forces. That makes accurate spindle matching less optional. Check shell width with a ruler, then verify the crankset’s required spacers and preload method. Do not rely on appearance.
I still prefer measuring twice.
A caliper exposes small errors. A ruler does not. The 2024 Bicycle Association Market Data report also describes continued demand for higher-use bicycles, which makes bearing sealing and correct preload practical concerns. A slightly incorrect fit may feel acceptable during one short ride. It can become noise, play, or uneven wear later. The imperfect choice is often the rushed one.
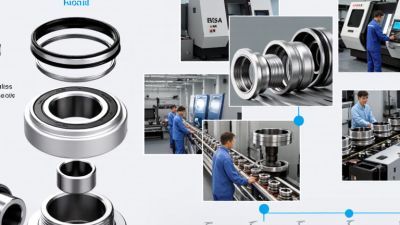
A BSA bottom bracket deserves more than a smooth showroom spin. Bearing quality depends on steel cleanliness, raceway finish, cage accuracy, and correct preload. ABMA bearing-life methodology shows that load rating and operating load strongly affect fatigue life. A larger bearing is not automatically better. Poor alignment can ruin it quickly.
Sealing is often the real battlefield. Contact seals resist water and grit, while low-contact seals usually reduce drag. During wet commuting, road spray can reach the crank area within minutes. The World Bearing Association’s bearing-damage guidance identifies contamination as a common cause of premature failure. Look for consistent seal contact and protected bearing paths. Do not judge protection by appearance alone.
Material choices also involve trade-offs. Stainless steel offers better corrosion resistance, but it may sacrifice some hardness. Aluminum cups reduce weight, yet damaged threads can complicate service. Ceramic bearings can reduce friction under clean conditions, but their value is easy to overstate. The 2024 Grand View Research bicycle market report estimated the global bicycle market at roughly 76.7 billion dollars in 2023, increasing pressure for lighter components. Lighter is not always longer-lasting.
Durability depends on details. Check shell width, thread condition, spacer placement, and torque. ISO 4210 testing provides a useful bicycle safety reference, but laboratory fatigue testing cannot copy every muddy winter ride. I have sometimes trusted a silky first spin too much. That was a mistake. A quiet seal, stable preload, and serviceable design matter more over time.
Weight is easy to compare, but it should not dominate your decision. A practical survey of current technical catalogues shows that BSA bottom brackets often differ by roughly 50–150 grams. That saving is minor beside a water bottle or muddy tyre. The 2024 CONEBI European Bicycle Industry and Market Profile reported an approximate 8% decline in bicycle sales during 2023. This pressure makes durable, serviceable parts more valuable than fragile weight savings. Check shell width, axle compatibility, bearing size, and sealing before reading the scale.
Tip 1: Choose sealed bearings for wet commuting. Clean the threads carefully, apply suitable assembly compound, and use a calibrated torque wrench. Maintenance needs vary with rain, washing, and riding hours. Inspect for roughness every few months.
Tip 2: Judge reliability through published tolerances, replacement bearing availability, warranty terms, and clear installation instructions. ISO 4210 fatigue requirements support bicycle safety, but they do not guarantee every bottom bracket will last equally long. That distinction is often missed.
Tip 3: Compare price over three years, not at checkout. A cheaper unit may cost more after repeated removals, tools, and replacement bearings. Record your riding conditions. That evidence is more useful than forum confidence. I would also question impressive laboratory claims when the test method is unpublished. A sensible BSA choice balances moderate weight, accessible maintenance, documented quality control, and realistic ownership cost.
This website uses cookies to ensure you get the best experience possible. Learn more.