Why Is the BSA Bottom Bracket Tool Important for Buyers?
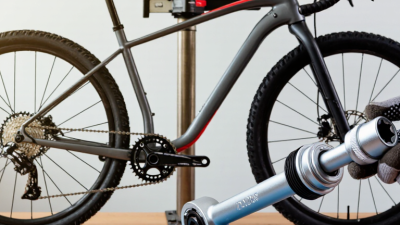
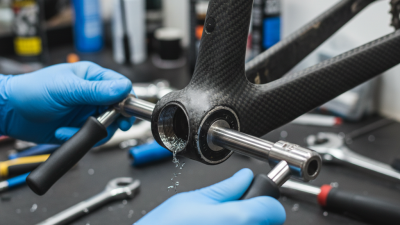
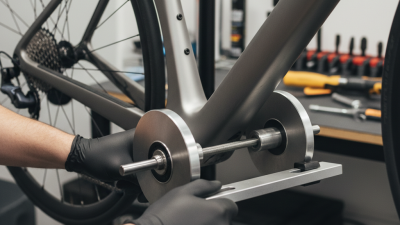
A bottom bracket may look simple, but removing or installing one demands the right fit and steady control. For buyers, the bsa bottom bracket tool matters because BSA-threaded cups need a compatible interface. A poorly matched tool can slip against the cup’s splines, leaving scratches or making a stubborn part harder to remove. A firm, even fit helps protect both the component and the mechanic’s hands.
Details matter. Check the tool’s listed compatibility, drive size, material, and whether it works with your preferred wrench or torque wrench. Some designs suit workshop use; others are easier to carry for home repairs. A solid steel tool often feels reassuring, though it may add weight. I have seen buyers focus on price and overlook the exact cup pattern. That is an easy mistake—and it can mean waiting for another tool.
The best choice depends on your crankset, bottom bracket, and how often you work on bikes. Confirm the manufacturer’s specifications before buying, especially when the cup has limited clearance or unusual splines. No tool makes every job effortless. Still, choosing carefully can make installation more controlled and reduce avoidable wear. A small tool, with a real job to do.
What Is a BSA Bottom Bracket Tool?
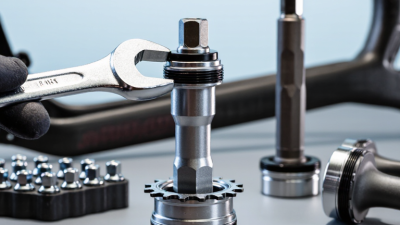
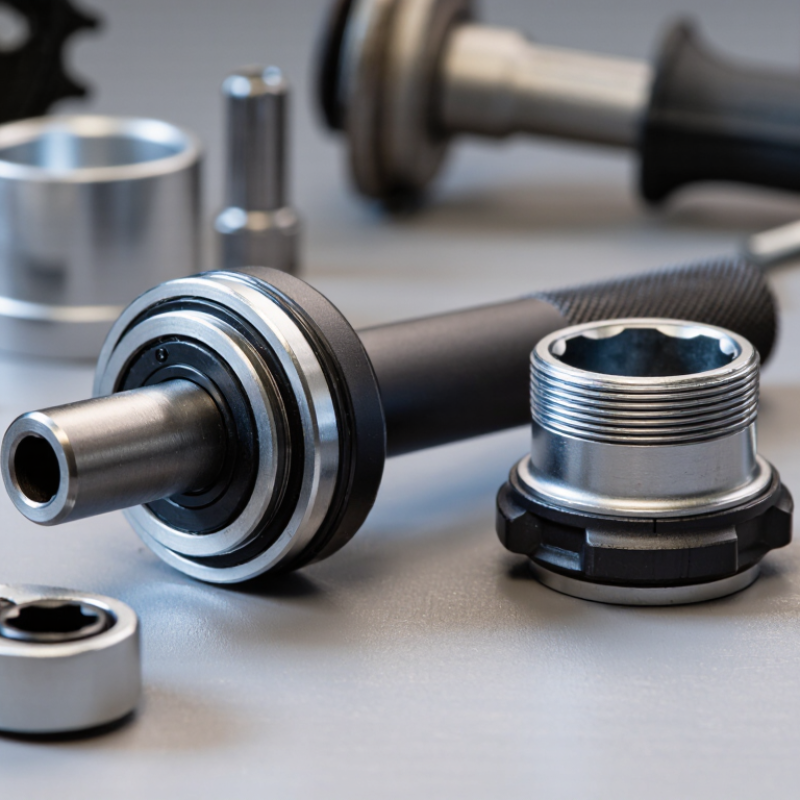
A BSA bottom bracket tool is a fitting tool for installing or removing the threaded cups that hold a bicycle’s crank bearings. BSA, also called English threading, commonly uses a 1.37-inch diameter and 24 threads per inch. The tool engages the cup’s splines or notches, giving a wrench or handle a secure way to turn it.
Choose a Tool That Fits the Cup
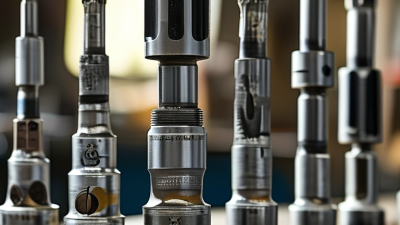
The shape matters. Some tools fit external bearing cups, while others engage internal splines on cartridge-style units. A tool that looks close may still sit poorly, so check the cup’s interface and the tool’s compatibility before applying force. A snug fit helps prevent rounded notches and scraped metal.
Small details count.
Loosening BSA Bottom Bracket Cups
On many BSA frames, the drive-side cup loosens clockwise, while the non-drive-side cup loosens counterclockwise. This reversed direction can surprise new mechanics. Check the component instructions if the cup’s standard is uncertain.
Keep the tool square to the cup, and use steady pressure rather than a sudden jerk. If it slips, stop and reseat it. It is easy to blame tight threads when the tool is simply misaligned. A little patience saves a damaged cup.
How BSA Standards Determine Tool Compatibility
BSA compatibility starts with the thread, not the tool’s appearance. ISO 6696 specifies the 1.37-inch by 24-thread-per-inch format used for common BSA bottom bracket shells. It also defines the opposite thread directions: the drive-side cup tightens counterclockwise, while the non-drive-side cup tightens clockwise. That detail matters when selecting a tool and applying force. A tool that fits the splines but encourages the wrong turning direction can damage a cup or shell.
Fit also depends on the cup’s interface. BSA describes the frame standard; it does not guarantee that every cup has the same external notches. Count the splines, measure their diameter, and check the tool’s engagement depth before turning. A shallow fit may slip under load. Shell width is another separate measurement: common frames use 68 mm or 73 mm shells, but width alone cannot identify the correct tool. ISO’s thread dimensions provide a reliable starting point, not a complete compatibility check. In a workshop, a quick dry fit often reveals more than a product label. I still find this easy to overlook when parts look nearly identical. Small difference, costly mistake.
How the Tool Supports Bottom Bracket Installation and Removal
A BSA bottom bracket tool helps buyers install and remove threaded bottom brackets without damaging the cups. BSA shells use a 1.37-inch diameter and 24 threads per inch, a specification documented in ISO 6695. That fine thread makes alignment important. A cup started crooked can bind quickly, even when the tool fits correctly. The tool’s splines or notches engage the cup, spreading turning force across its contact points. This helps reduce slipping and scraped edges during service.
During installation, clean the shell threads and apply suitable grease or assembly compound. Start each cup by hand, then use the correct tool to tighten it to the component maker’s specified torque. A torque wrench adds control; guessing by feel is common, but not always reliable. For removal, secure the tool fully before applying steady force. If the cup resists, check the thread direction and confirm the tool is seated. Extra leverage can make a small mistake worse.
Tips: Count the tool’s engagement points and match them to the cup before turning. Keep the bicycle stable, and inspect the tool for worn teeth. One small catch: some tools need an adapter or retaining bolt to stay engaged. Check compatibility before buying, especially if you service more than one bicycle.
How the Right Tool Helps Prevent Damage and Extra Costs
Why Is the BSA Bottom Bracket Tool Important for Buyers?
How the Right Tool Helps Prevent Damage and Extra Costs
A BSA bottom bracket threads into the frame, so a poor-fitting tool can slip under pressure. That may round the cup’s notches, scratch the frame, or make removal much harder. The damage is easy to miss at first. Then a simple service turns into a replacement job.
Choose a tool that matches the specific bottom bracket interface, not just one described as “for BSA.” Check the cup’s shape and dimensions, and make sure the tool sits fully and squarely before turning. Keep the tool aligned, use a steady hand, and avoid forcing it if it shifts. A small movement can matter. Grease, dirt, and worn tool teeth can also reduce a secure fit.
The tool is only part of the job. A long lever may add more force than the cup or frame needs, and an improvised adapter can wobble. I have seen careful preparation save more time than extra strength. Still, fit alone does not guarantee success: corrosion or cross-threading may resist removal. Pause and inspect rather than keep leaning on the wrench. A few minutes spent checking compatibility can prevent a damaged cup, costly workshop labor, or a frame repair.
What Buyers Should Check When Choosing a BSA Tool
Choosing a BSA bottom bracket tool starts with checking the interface, not just the label. BSA shells commonly use a 1.37-inch, 24-thread-per-inch standard, but cartridge units and external-cup systems can have different tool patterns. Count the splines or notches on the cups and compare them with the tool. A close visual match is not enough; a loose fit can round the edges before the cup moves.
Check the tool’s depth and clearance around the frame. Some tools need room for an axle or crank spindle, while others attach to a long-handled wrench or torque wrench. Confirm that the drive fitting suits your available handle. BSA threading also matters during installation: the drive-side cup tightens counterclockwise, unlike the usual direction. I have seen people pause here and still second-guess themselves. That is sensible. Forcing a cup is not.
Tips: Seat the tool fully before applying force. Keep it square to the cup, and stop if it slips or rocks. Use the cup maker’s torque guidance when available; guessing by feel can overtighten parts. A small amount of dirt can hide a mismatch, so clean the splines and inspect them under good light. The right tool should engage firmly without wobble.
Why Is the BSA Bottom Bracket Tool Important for Buyers?
Common BSA (English-threaded) bottom-bracket shell widths are 68 mm and 73 mm.
What to check: BSA threading is 1.37 × 24 TPI. Confirm the bottom-bracket cup’s tool interface matches the tool, and check the shell width and threading before buying. For standard BSA cups, the drive-side thread is left-hand and the non-drive-side thread is right-hand.