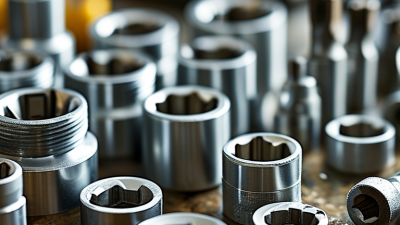
A BSA bottom bracket tool may look like a simple workshop accessory, but the right fit can make the difference between a clean service and damaged cup splines. BSA describes the bottom bracket’s threaded interface; it does not guarantee that every cup uses the same tool profile. Before turning a wrench, identify the bottom bracket and check its manufacturer’s fitting requirements. A tool that sits fully and evenly on the cup is less likely to slip when resistance builds. Small details matter.
Calvin Jones, a bicycle repair educator associated with Park Tool, teaches a practical principle: match the tool to the component before applying force. That is useful advice for any home mechanic handling a threaded bottom bracket. A compatible bsa bottom bracket tool gives you a controlled way to loosen or install the cups, while a poorly matched one can chew up the ridges. Check the tool’s engagement, keep it square, and use the fitting method recommended for the specific component. Some setups also require a particular wrench or retaining method, so the tool alone may not be the whole story. It is tempting to blame a stubborn cup on tight threads. Sometimes the tool is simply wrong. This guide explains why the correct tool matters, what to check before buying one, and how careful use can protect both the bottom bracket and the frame. One caveat: even a good tool cannot fix a mismatched part.
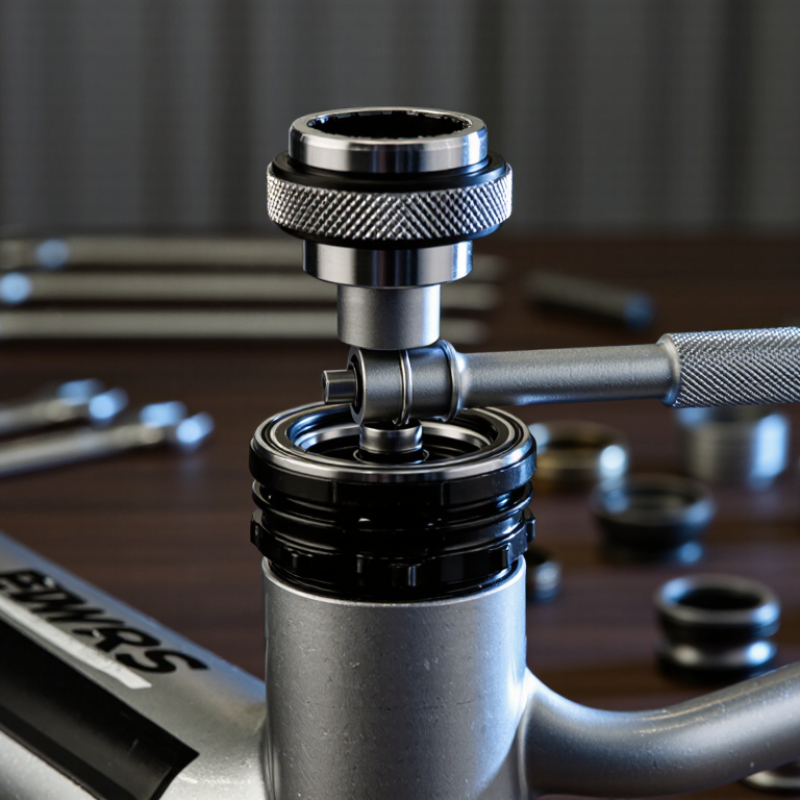
A BSA bottom bracket sits inside a threaded frame shell and supports the crank axle. It is also commonly called an English-thread bottom bracket. ISO 6696:1989 specifies the familiar 1.37-inch by 24-threads-per-inch thread; ETRTO technical tables also document this format. That equals roughly 34.8 mm across the nominal thread diameter. The numbers matter when checking frame compatibility.
BSA threading is asymmetric in direction. The drive-side cup tightens counterclockwise, while the non-drive-side cup tightens clockwise. This arrangement helps resist loosening as the crank turns. Common shell widths are 68 mm on many road frames and 73 mm on many mountain frames, though exceptions exist. The naming can feel counterintuitive at the workbench. Small detail, big consequence. A mismatched cup may start crooked, damage the frame threads, or feel tight before it is seated.
Tips: Check shell width and thread type before choosing a tool. Match the tool to the cup’s notches or splines, then keep it square while turning. Clean grit from the threads and start cups by hand. If one binds early, stop and inspect; forcing it is a tempting mistake, and not a useful one.
A BSA bottom bracket uses a 1.37 in × 24 TPI thread. The drive-side cup has a left-hand thread, while the non-drive-side cup has a right-hand thread. A compatible bottom bracket tool fits the cup’s interface, helping you install or remove it without damaging the cup.
The chart shows two common BSA shell widths: 68 mm and 73 mm. Check your frame and bottom bracket type before choosing a tool, since cup interfaces can vary.
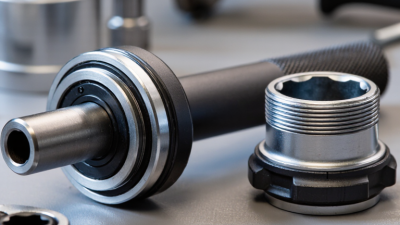
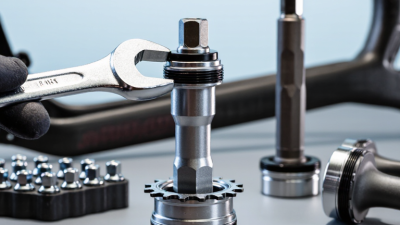
A BSA bottom bracket tool engages the shaped interface on a bottom bracket cup or cartridge unit. On many cartridge units, this is a ring of external splines. Other designs use notches or a different profile. The exact fit matters. A tool that catches only the edges can slip, damage the interface, and make a stuck cup harder to remove.
Inspect the bottom bracket before choosing a tool. Spline counts and diameters vary, so a tool that looks close may still sit crooked. Not a close-enough fit. Seat the tool fully and keep it aligned with the spindle. A slight tilt can concentrate force on one tooth. Some setups allow a retaining bolt to hold the tool securely, but check that it is suitable for your parts.
Tool engagement is separate from thread direction. Standard BSA shells have a left-hand thread on the drive side and a right-hand thread on the non-drive side. Confirm the removal direction for the side you are facing before applying force. Wipe away grease and road grit so the tool’s contact points are visible. If the tool rocks or slips, stop and reassess; added force can round the cup’s interface.
BSA bottom brackets share a threaded shell, but their cup designs require different tools. ISO 669:2016 specifies bicycle bottom-bracket thread dimensions; common BSA threading measures 1.370 inches by 24 threads per inch. That shared thread does not mean a shared removal interface. Cartridge units commonly use a deep splined socket that engages the drive-side cup. External-bearing units need a wide, notched tool that grips the cup’s outer edge. Check the notch count and diameter before turning. A poor fit can round the cup.
Older adjustable cup-and-cone systems need different tools again. The adjustable cup may have pin-spanner holes or wrench flats, while the fixed cup may need a hook or pin tool. Some cartridge cups also use different spline patterns, so visual inspection alone can mislead. I still pause to check the interface before choosing a tool; it saves effort, though it is easy to overlook. ISO 669 is useful for understanding the thread standard, but it does not identify every cup-tool pattern. A clean, well-lit close-up helps. When uncertain, measure the cup and consult its service documentation rather than forcing a near-fit tool.
A BSA bottom bracket tool gives the wrench a firm, close-fitting grip on the cup or cartridge interface. That matters because shallow engagement can slip, round the splines, or scratch the frame. Check the fitting before turning: some bottom brackets use splined sockets, while others need a different tool shape. Fit matters.
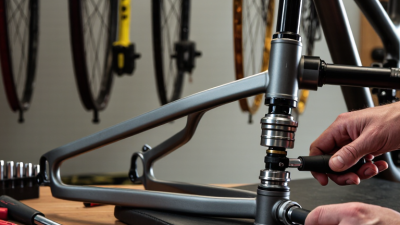
For removal, clean away grit and seat the tool fully. BSA threads are not the same on both sides: the drive-side cup loosens clockwise, while the non-drive side loosens counterclockwise. A long-handled wrench can help, but steady pressure is safer than a sudden jerk. If the tool starts to lift or slip, stop and reseat it. Forcing it is an easy mistake.
Installation needs the same careful fit. Clean and inspect the frame threads, then apply lubricant or compound as specified for the bottom bracket. Start each cup by hand to avoid cross-threading. The drive-side cup tightens counterclockwise; the non-drive side tightens clockwise. Use the tool to finish the job evenly, following the component maker’s torque guidance when available. It can feel secure before it is fully seated, so check alignment rather than guessing.
Why Do You Need a BSA Bottom Bracket Tool?
What Can Go Wrong Without the Correct BSA Tool?
A BSA bottom bracket may look simple, but its cups depend on precise engagement. ISO 6696:1986 specifies the common 1.37-inch by 24-thread-per-inch bottom-bracket thread. The drive-side cup uses a left-hand thread; the opposite cup uses a right-hand thread. The correct tool matches the cup’s interface and helps apply force evenly. Small details matter.
With a mismatched tool, the contact points may barely engage. Under pressure, the tool can slip, rounding cup splines or scraping nearby frame surfaces. That sounds minor. It isn’t. A damaged cup can become difficult to remove, turning routine service into a longer repair. Dirt or corrosion can make poor engagement worse. Cross-threading is another risk: it usually starts with misalignment, but a tool that cannot hold the cup squarely makes careful starting harder.
The standard’s thread dimensions are not a substitute for checking the actual cup and tool interface. Inspect both before applying leverage. Keep the tool fully seated, start the threads by hand, and stop if resistance rises immediately. I have seen people reach for more force when a cup feels stuck; that instinct can make the damage worse. A snug fit and steady pressure are less dramatic, but far safer for the threads.
| Area | What the Correct Tool Does | What Can Go Wrong Without It | Practical Check |
|---|---|---|---|
| Tool-to-cup fit | Engages the bottom bracket cup’s specific splines, notches, or flats. | A loose or mismatched tool can slip and round or deform the cup’s engagement features. | Identify the cup interface and tool size before applying force; similar-looking tools are not always interchangeable. |
| Thread direction | Allows controlled installation and removal while accounting for BSA thread direction. | Turning the wrong way can tighten a cup unexpectedly or encourage damage when excessive force is applied. | On a standard BSA shell, the drive-side cup has a left-hand thread; the non-drive-side cup has a right-hand thread. |
| Thread protection | Helps keep the cup aligned so its threads start smoothly by hand before tool-assisted tightening. | Starting a cup at an angle can cross-thread the cup or damage the frame’s bottom bracket threads. | Start the cup by hand and confirm it turns freely for several turns before using the tool. |
| Force control | Provides a stable contact point for applying appropriate, even torque. | Pliers, improvised gripping methods, or an unstable tool can slip, damage the cup, or injure the mechanic. | Follow the bottom bracket manufacturer’s torque specification and use a compatible torque wrench when required. |
| Component compatibility | Matches the bottom bracket type and cup design; BSA describes the frame thread standard, not one universal tool interface. | Assuming every BSA bottom bracket uses the same tool can lead to poor engagement or an incomplete service. | Check the bottom bracket’s design and cup interface; cartridge units and external-cup systems may require different tools. |
| Service result | Supports secure, even cup installation and clean removal for maintenance. | Damaged cups, compromised frame threads, or poor installation can make later servicing more difficult and costly. | Clean the shell and threads, inspect for damage, and use any preparation or lubrication specified for the component. |
BSA (also called English) bottom bracket shells commonly use a 1.37 in × 24 TPI thread. Always verify the component instructions and tool interface before service.
This website uses cookies to ensure you get the best experience possible. Learn more.